Creating a Role
How to Create a Role
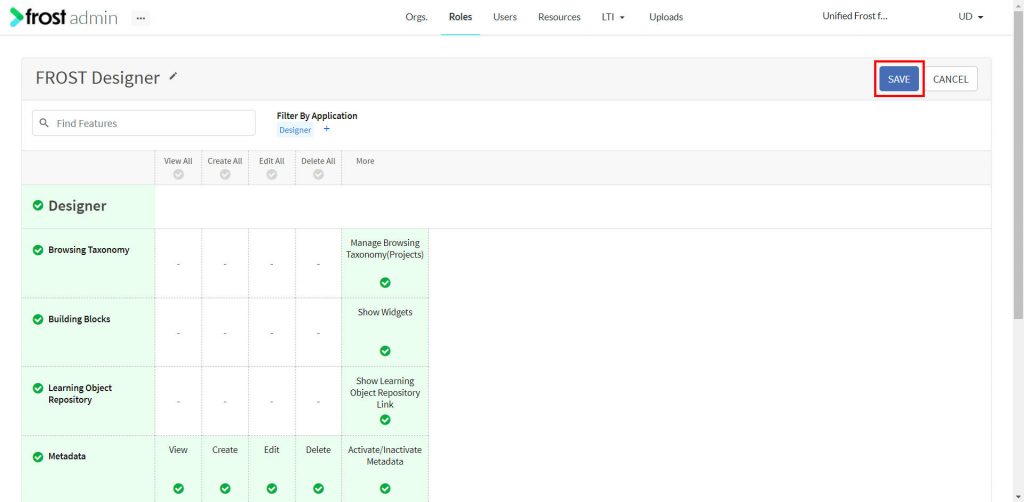
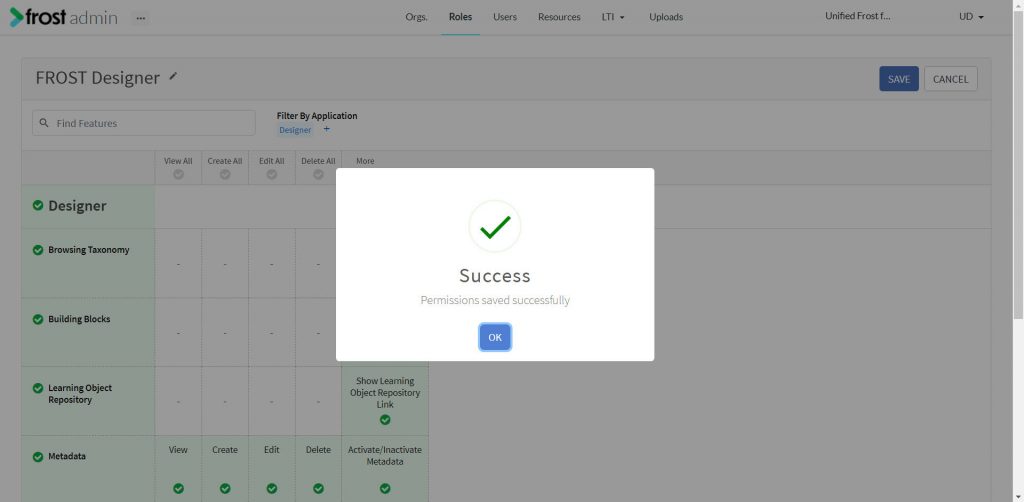
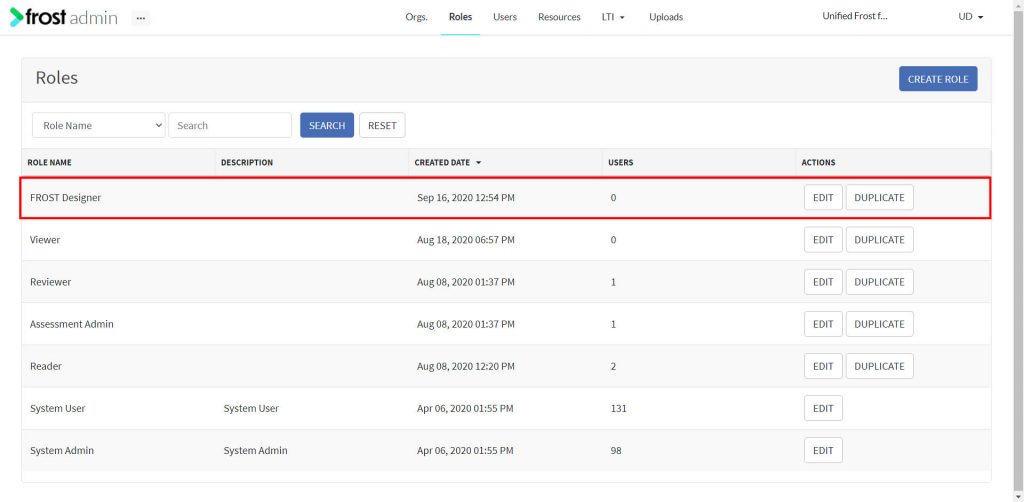
-
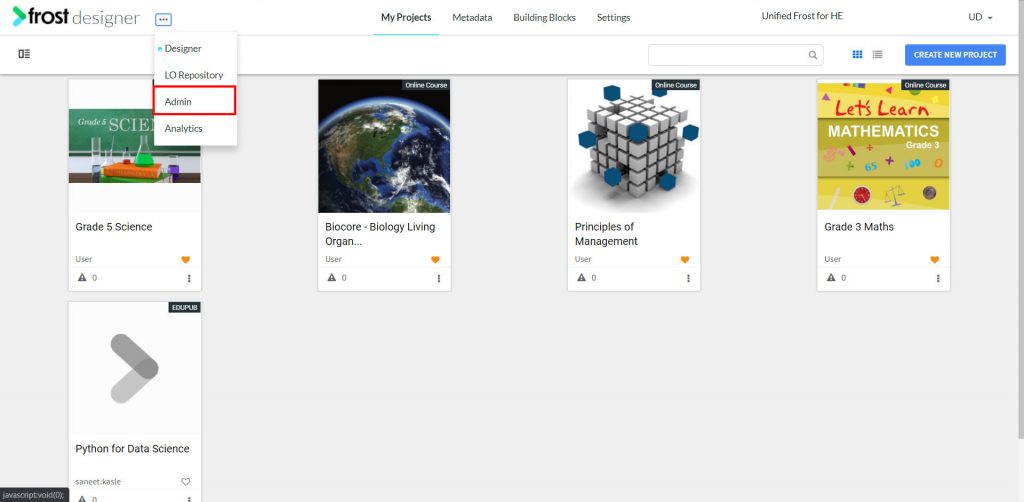
Navigate to the Admin platform by clicking on the horizontal ellipses. The ellipses are on the top left corner of the screen.
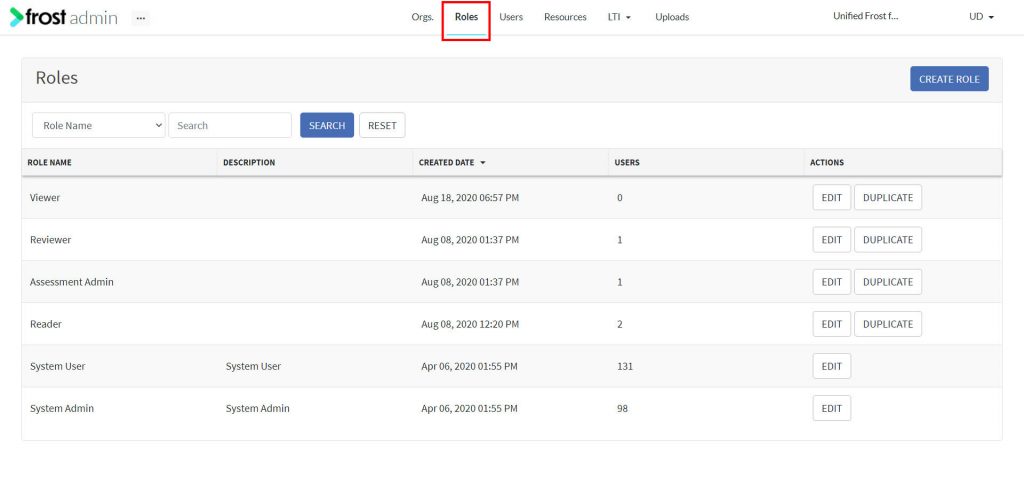
- From the Admin dashboard, select the Roles tab to navigate to the Roles page.
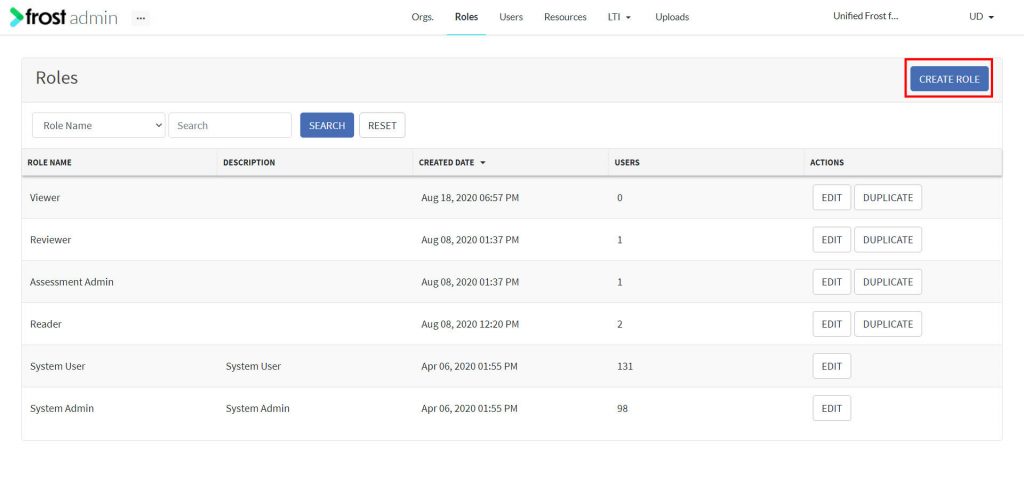
- Click on Create Role to open the form.
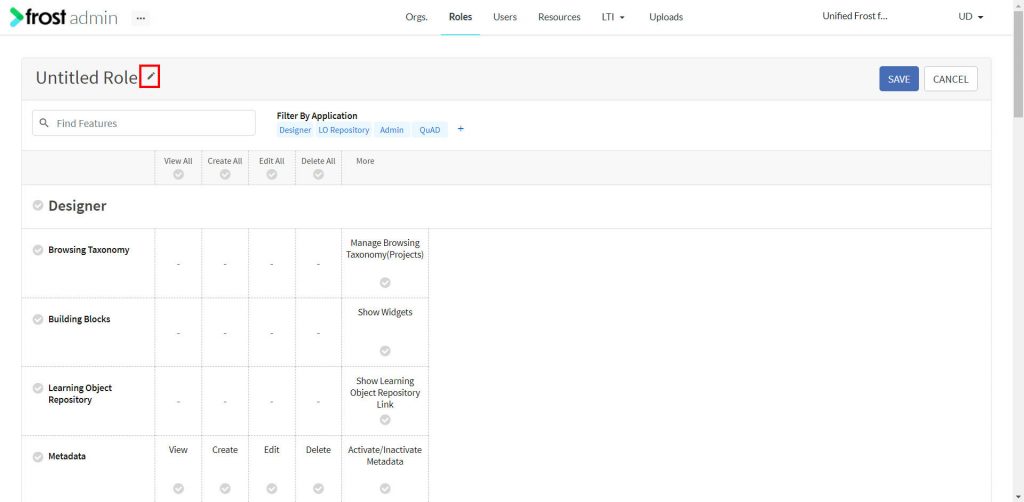
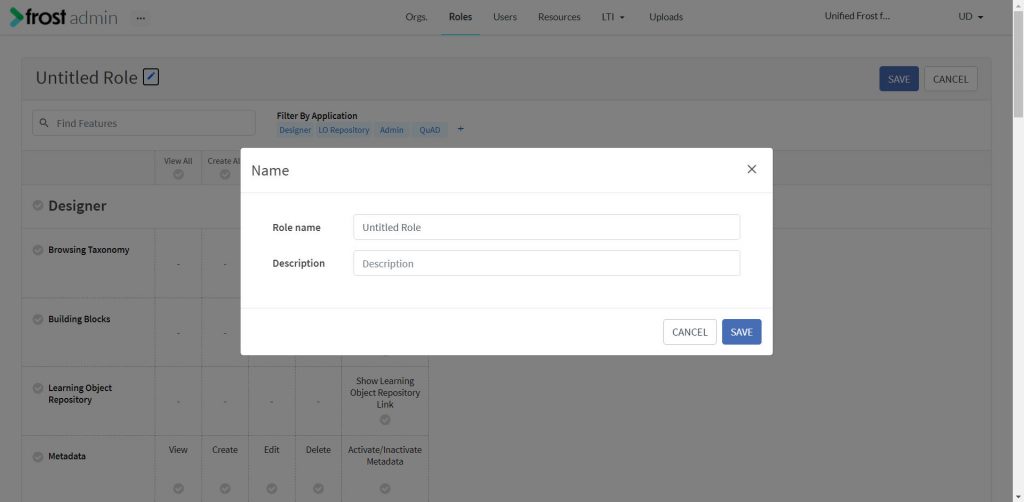
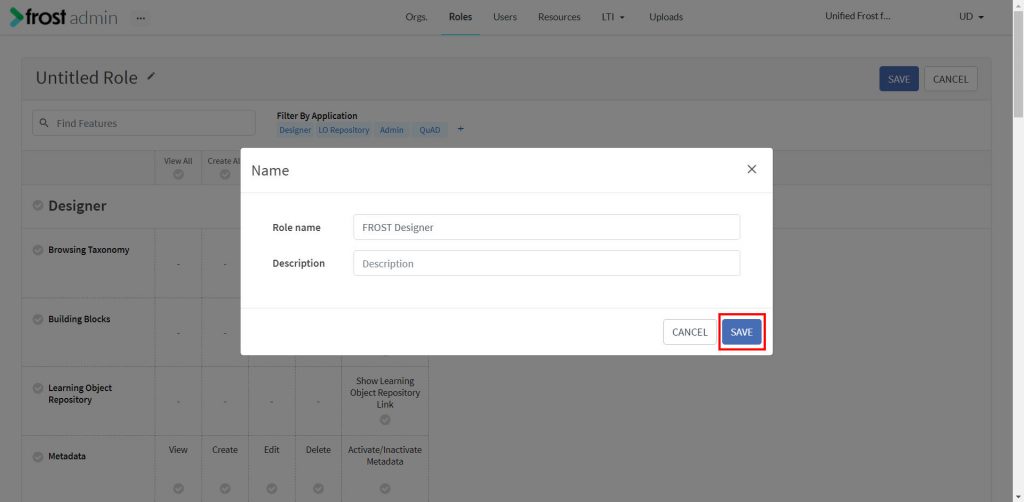
- Fill the necessary details of the new user by clicking the Edit icon available next to the role name. Any new role is prepopulated as an Untitled Role. Fill in the following details:
- Role Name – unique role name that does not exist in the system.
- Description
-
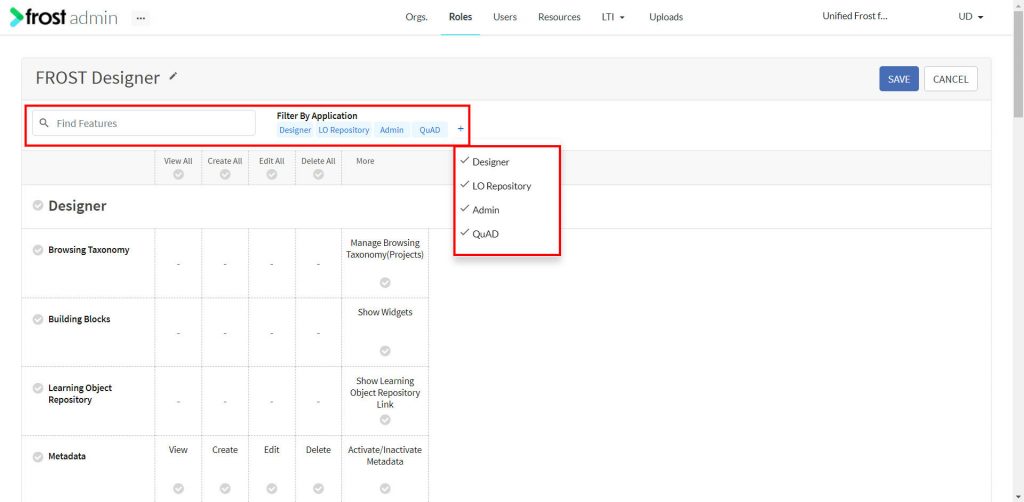
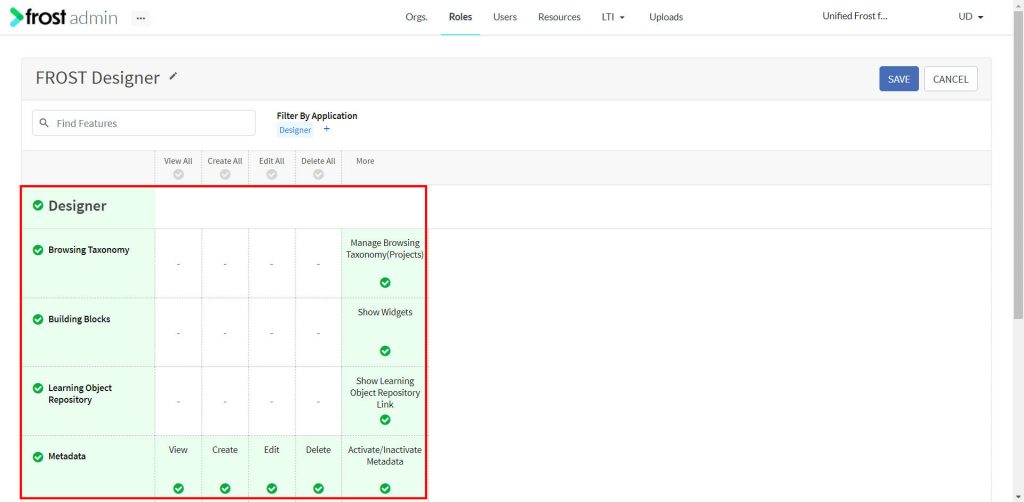
Features – these indicate the permissions assigned to the role. Based on access, the user can see links to navigate to and from platforms. Permission can be assigned to the role by selecting the feature. Search and Filter can also be used based on application such as:
- Admin
- Designer
- Quad
- LO Repository
Note: Roles assigned to the user determine their access on each platform.
- Click Save to add the role to the system.
Comments
0 comments
Please sign in to leave a comment.